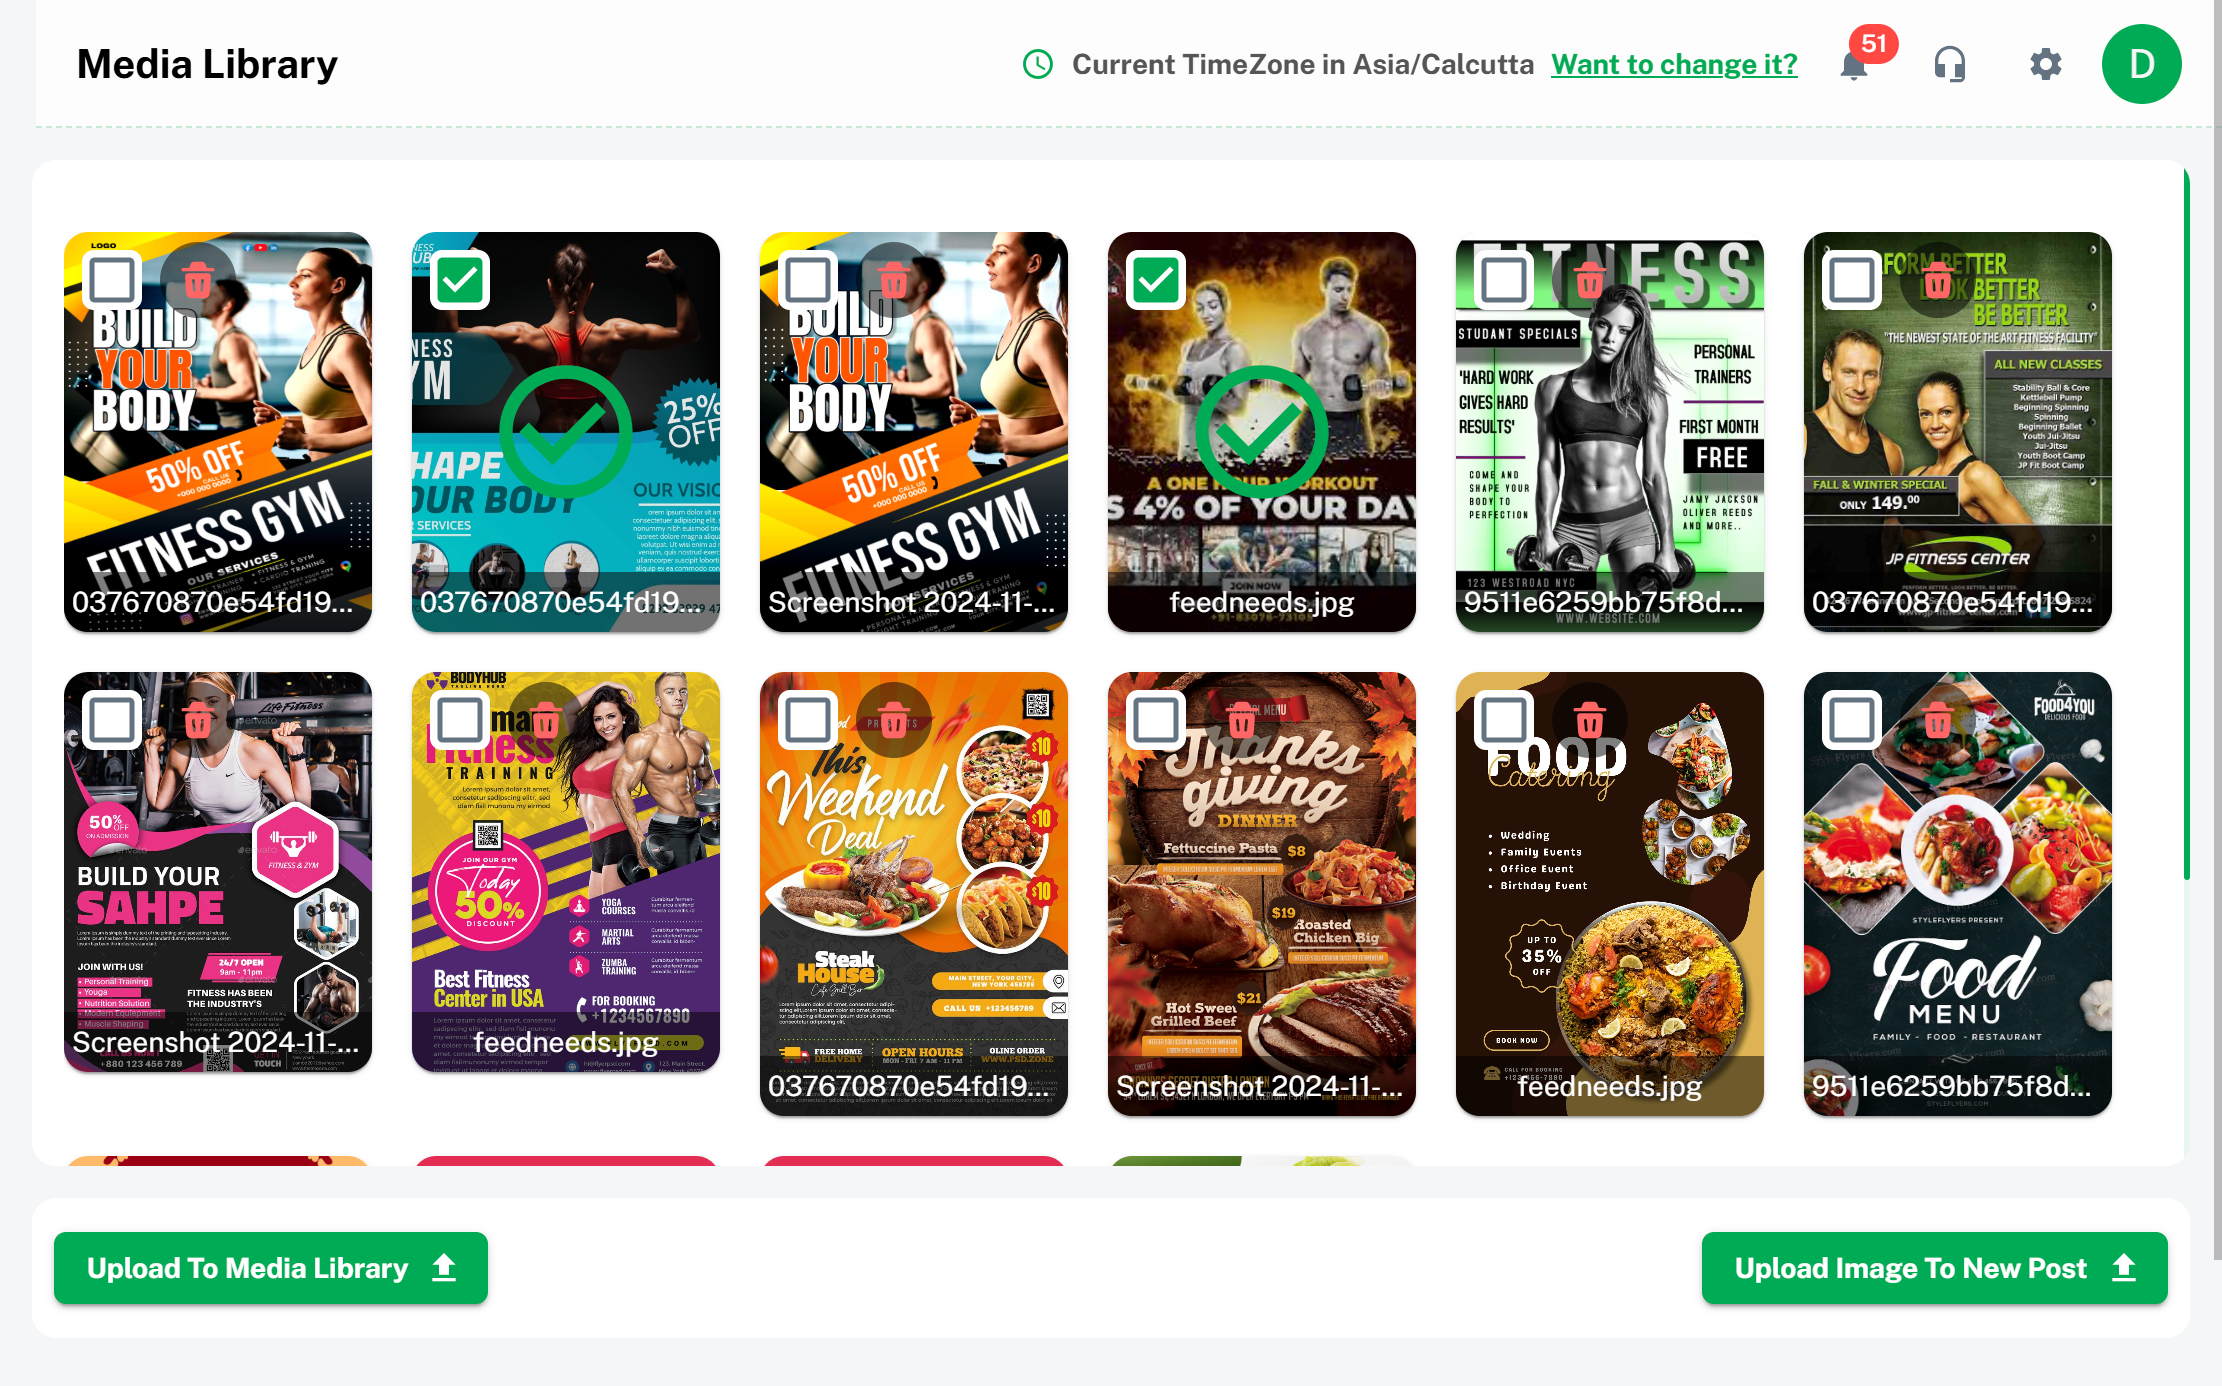
The Media Library in Brand2Social is a powerful feature designed to streamline the management of your digital assets. It serves as a centralized repository where you can store, organize, and access all your media files, including images, videos, and graphics. With the Media Library, you can efficiently categorize and retrieve assets, ensuring that your content creation process is smooth and organized. This feature not only helps in maintaining brand consistency by keeping your assets in one place but also enhances collaboration by making it easy for teams to access and share media.
What is Media Library ?
Media Library is a feature in Brand2Social that provides a centralized location for storing and managing all your digital media assets. It allows users to upload, organize, and retrieve images, videos, and other media files efficiently. With the Media Library, you can categorize and tag assets for easy access, ensuring that all necessary media is readily available for content creation and social media management. This feature helps maintain brand consistency, streamlines the content creation process, and enhances collaboration by providing a single, organized repository for all your media needs.
Media Library for Easy Access
Go to the Templates section and click on Media Library.
Here, you’ll see all the images and videos you’ve uploaded previously, privately stored for your use.
Choose the images or videos you want to include in your new post by clicking the Upload to New Post button.
To upload new images or videos to the media library, click the Upload to Media Library button, and a popup will appear for you to add your files.
Once selected, the media will be added to your new post, ready for you to complete and publish.
Utilize Media Library for New Post
- Navigate to the New Post section.
- Enter the necessary details and add attachments for your post.
- Click on under the description Camera Icon to open the Media Library.
- Media Library to find the images, videos, or graphics you want to include.
- Select the desired media file(s) and click Insert to add them to your post.
- Choose to schedule the post for a future date or publish it immediately.
Key Benefits of the Media Library Feature
Centralized Asset Management
Store all your digital assets in one place, making it easy to find and use media files when needed.
Enhanced Organization
Categorize and tag media files for quick retrieval and efficient management.
Time-Saving
Quickly access frequently used assets, reducing the time spent searching for media files during content creation.
Collaboration
Share the media library with team members to ensure everyone has access to the latest and most relevant assets.
Brand Consistency
Maintain a consistent brand image by using approved media files across all social media channels and marketing campaigns.


