Brand2Social allows you to bulk upload posts using a CSV file — ideal for importing large volumes of pre-planned content at once. You can prepare your CSV in Google Sheets, Airtable, Excel, or any spreadsheet tool that supports CSV export.
Prerequisites
Before uploading, ensure the following:
- Your CSV file follows the correct column format described in this guide.
- All social media accounts you want to post to are connected in Brand2Social.
- Any media (images or videos) referenced in the CSV is hosted at a publicly accessible URL.
Step 1 — Access the Import Posts Feature
1. Log in to your Brand2Social account.
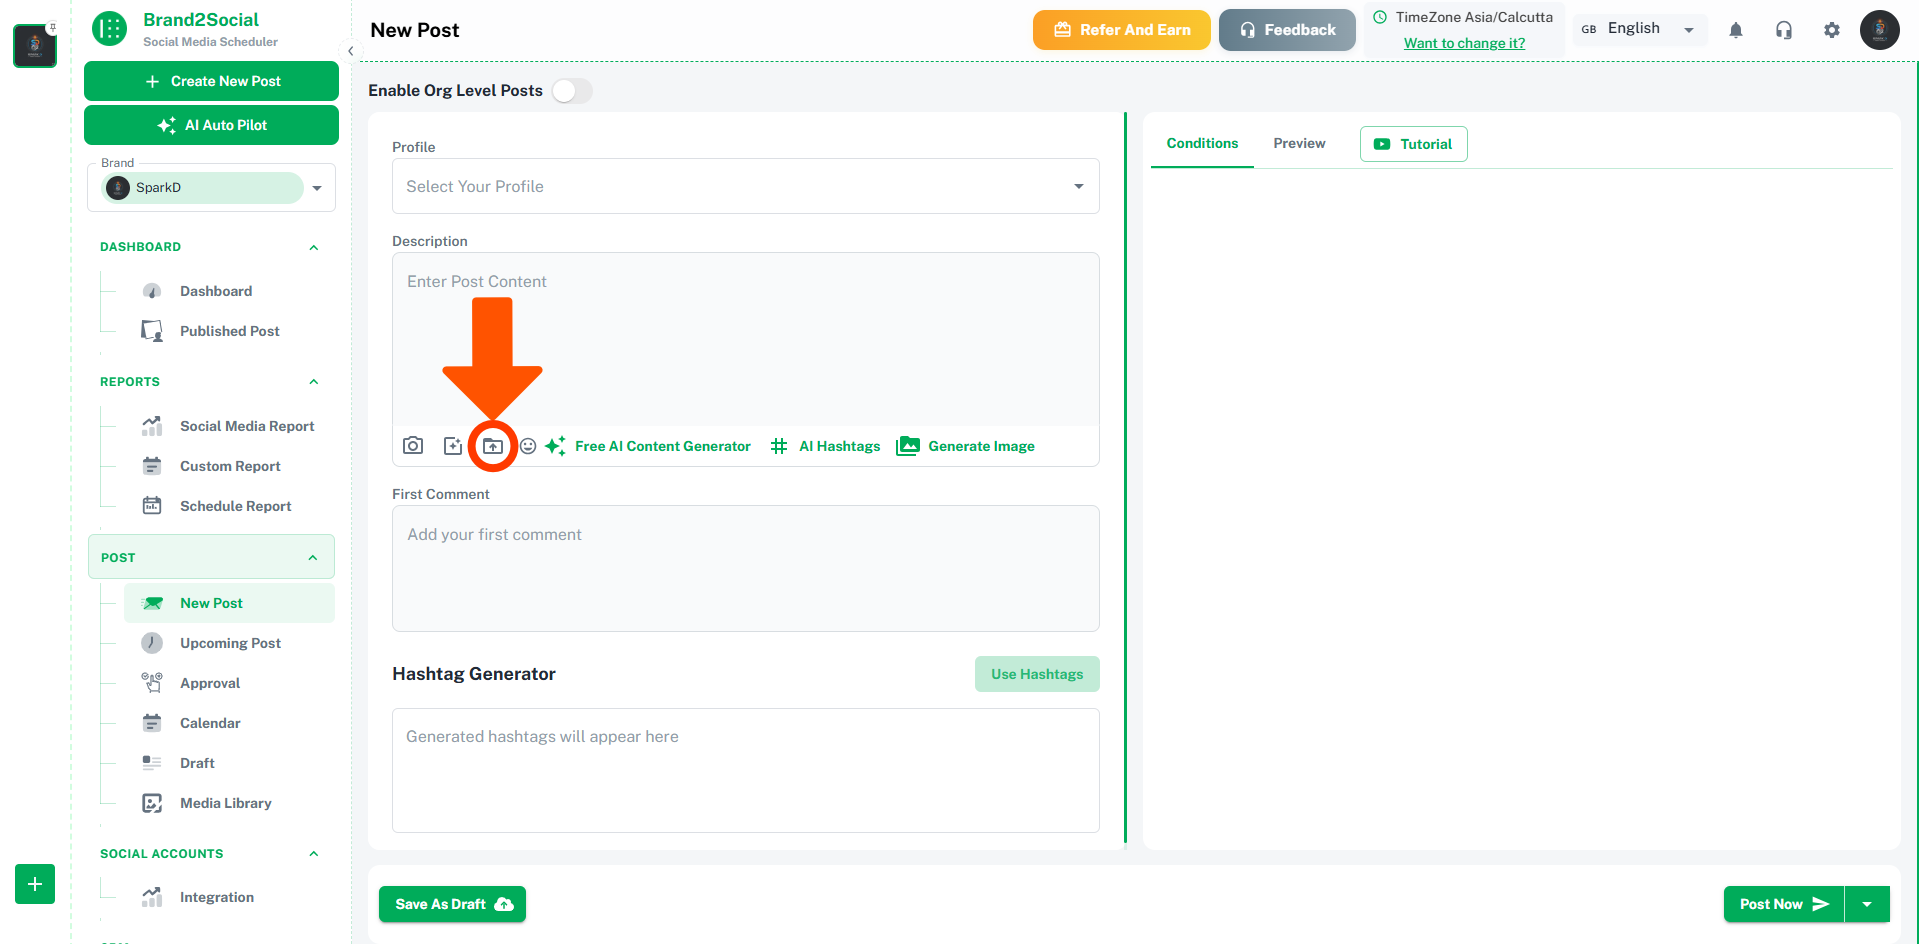
2. Click on Create new post on the left top.
3. CLick on the bulk upload below the description.
Step 2 — Prepare Your CSV File
Your CSV file must follow this exact column order:
Text, Title, Media URLs, Labels, Social Medias, Scheduled
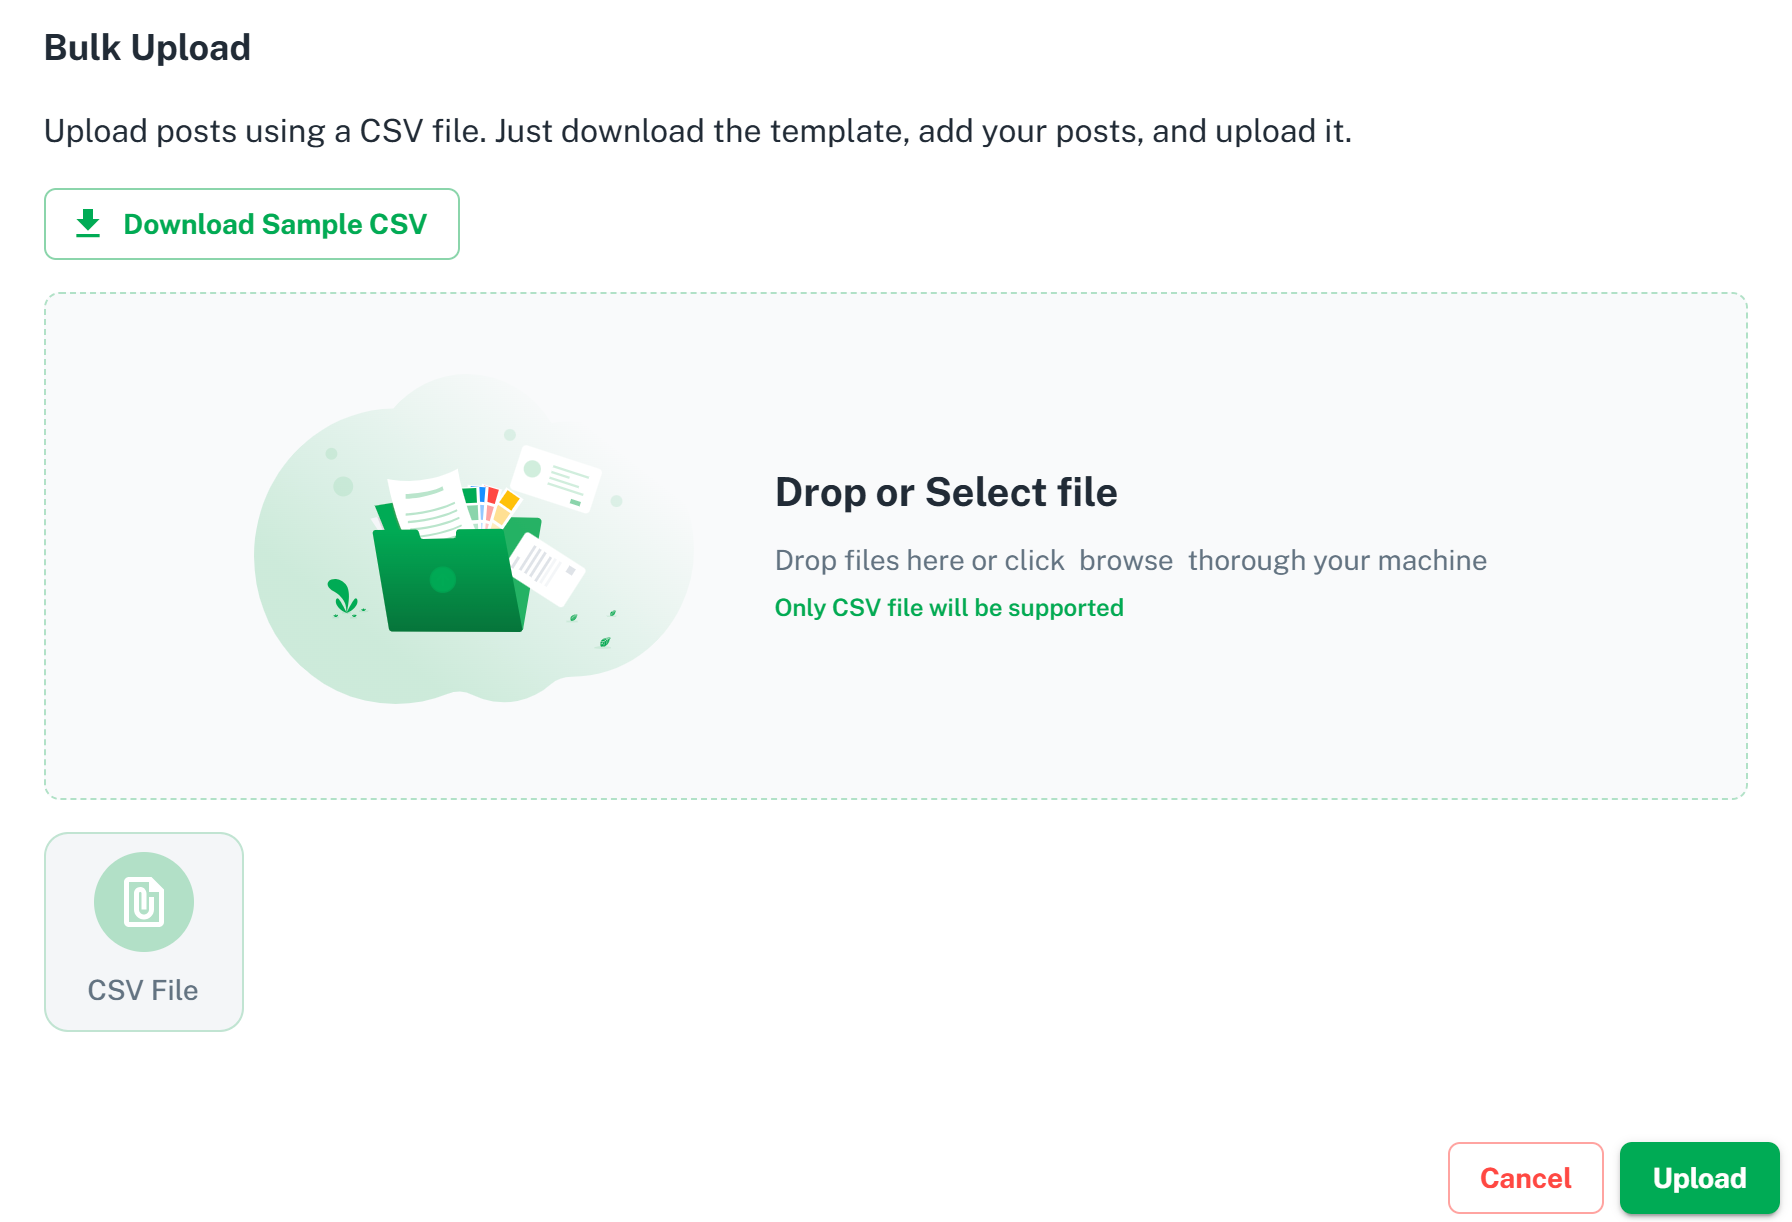
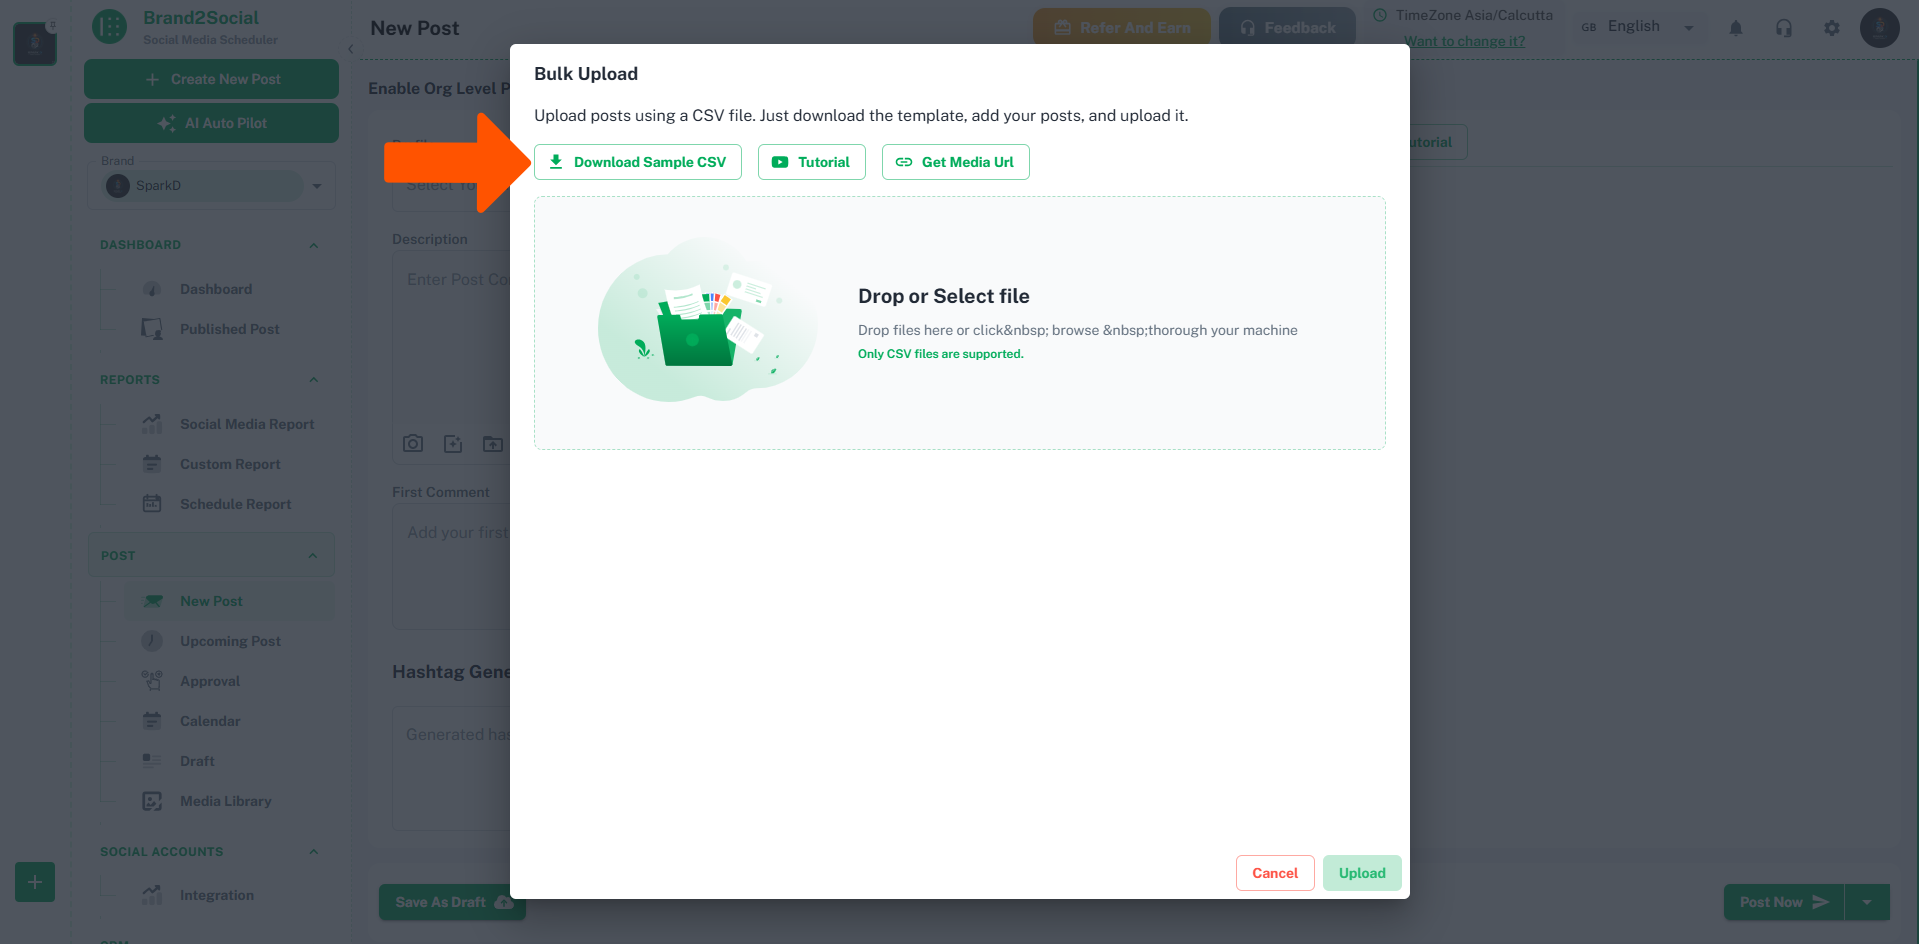
You can download an example CSV file here to use as a starting point.
Here is a breakdown of each column:
Text
The main content of the post — the caption or body text that will appear when the post is published.
Title
The post title, required for platforms that support or require titles such as YouTube, Pinterest, and Google My Business. Leave this field empty for platforms that do not use titles.
Media URLs
A comma-separated list of publicly accessible image or video URLs to attach to the post. Brand2Social will automatically fetch and upload the media when the CSV is imported.
ℹ️ Note: Media URLs must be publicly accessible. Private or login-protected URLs will fail to import.
Labels
A comma-separated list of labels to apply to the post for organization and filtering within Brand2Social (e.g., campaign-q3, product-launch).
Social Medias
A comma-separated list of the exact names of the social media accounts you want to assign the post to. The account names must match what is shown in your Brand2Social integrations. If two connected accounts share the same name, the post will be assigned to both.
Scheduled
The date and time you want the post to be published, in ISO 8601 format (YYYY-MM-DDTHH:mm:ss.sssZ).
- If you want to schedule in a specific timezone, either adjust the time manually for the UTC offset, or include the timezone in the ISO date string.
- Leave this field empty if you want to import the post as a draft rather than scheduling it immediately.
Example: 2025-03-15T09:00:00.000Z (15 March 2025 at 9:00 AM UTC)
Step 3 — Upload the CSV to Brand2Social
1. Return to Posts → Import Posts in Brand2Social.
2. Click Upload and select your CSV file.
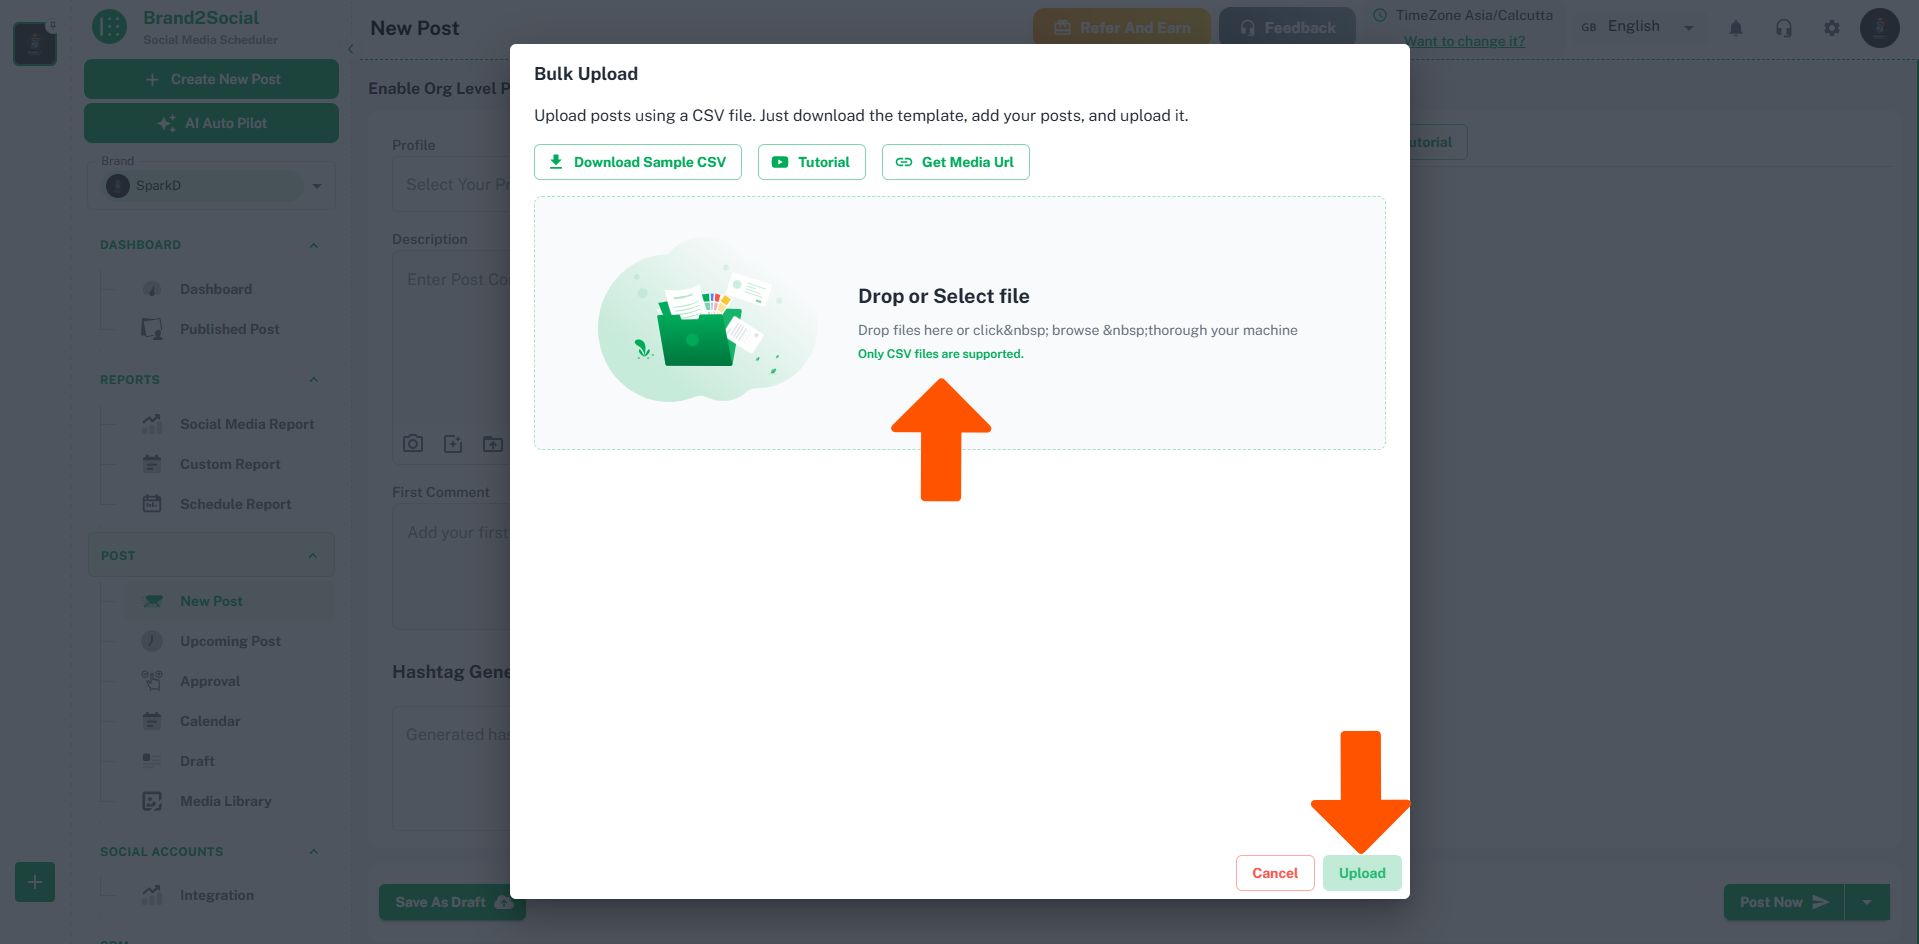
3. Brand2Social will process the file and import your posts.
4. Once imported, all posts will appear on the Posts page — scheduled posts will be queued at their assigned times, and posts without a scheduled time will appear as drafts.
ℹ️ Note: Large CSV files with many rows or media URLs may take a moment to process. Wait for the confirmation before navigating away from the page.
Troubleshooting Common Issues
Some posts failed to import
- Check that all column names in your CSV header row are spelled correctly and in the correct order:
Text, Title, Media URLs, Labels, Social Medias, Scheduled. - Ensure there are no extra blank columns or rows in your CSV file.
- Open the CSV in a plain text editor to verify the formatting looks correct before re-uploading.
Media is not appearing on imported posts
- Confirm that all media URLs in the CSV are publicly accessible. Test each URL by opening it in a private/incognito browser window — if it prompts a login, it will not import.
- Check that the URLs point directly to the media file (ending in
.jpg,.png,.mp4, etc.) rather than to a webpage containing the media.
Posts are being scheduled at the wrong time
- The
Scheduledfield uses UTC time by default. If your posts are going live at the wrong time, adjust your timestamps to account for your local timezone offset, or include the timezone in the ISO date string (e.g.,2025-03-15T09:00:00.000+05:30for IST).
A social media account name is not being recognized
- Verify that the account name in your CSV matches exactly what is shown in Brand2Social’s Integrations page — including capitalization and spacing.
- If the account was recently connected, try re-importing the CSV after refreshing the Integrations page.
See How to Bulk Upload in Action
Watch this quick demo to see how to bulk upload posts to Brand2Social using a CSV file.


